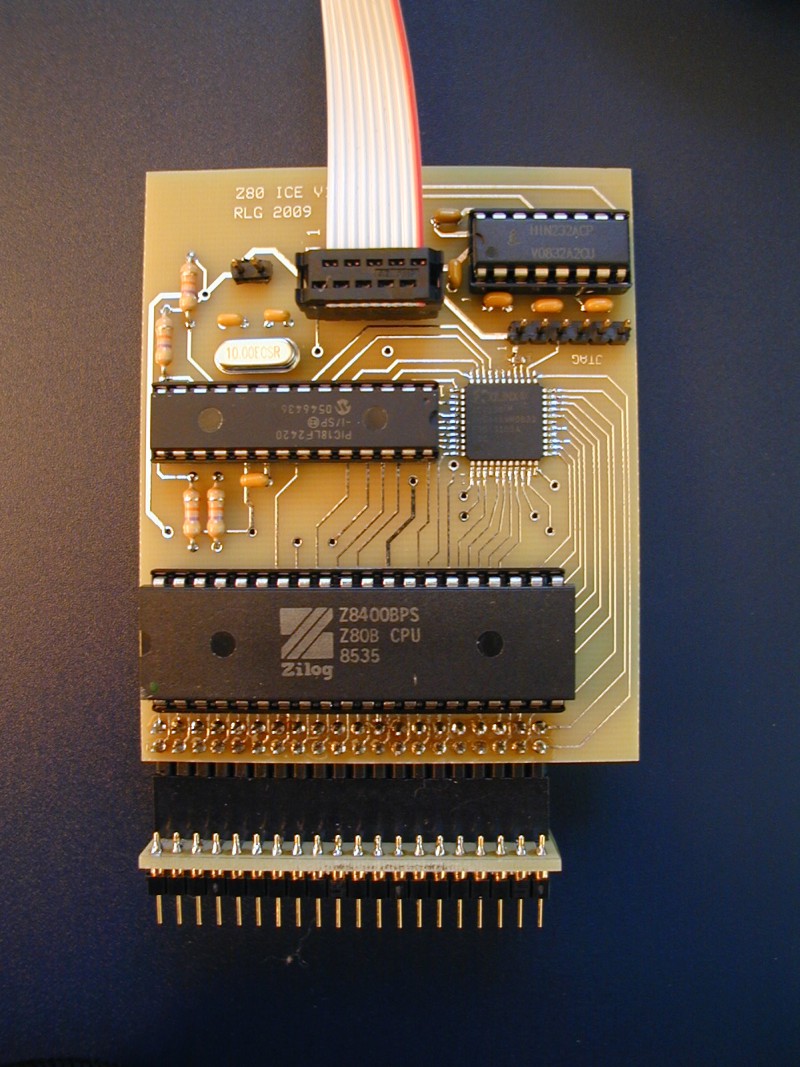
 In-circuit Emulators are the hardware devices that help in debugging embedded code in microcontroller. They are not only specified for debugging software but also, debugging certain parts of hardware. In-circuit Emulators are also called I.C.E devices that allow engineers , debuggers to emulate the microprocessors or microcontrollers. The in-circuit emulator take the place of processor and allow special control of the microprocessor such as stopping the device under test and checking/setting registers or memory, even showing a trace of the microprocessor has been doing real time before it was stopped.
There are different types and sizes of in-circuit emulators are available according to the need of engineers and it depends on their project requirements. The best in-circuit emulator can emulate a large number of processor family simply by changing the pod and reconfiguration of emulator. Microcontrollers or Microprocessors family are included such as Intel, Motorola, PIC, Samsung, NXP, ARM and many more.
 Benefits- In-circuit emulator offers additional benefits when integrated with compilers. When in-circuit emulators are integrated with compilers, the build/make process is streamline so when bugs are found the code can be quickly changed in-circuit emulator environment and retested. You can get in-circuit emulators that can support multiple microprocessors built by different manufacturers.
Features- One of the greatest feature of in-circuit emulator is the ability to set trace condition. Complex trace condition and filters allow developers to trap bug and then look back the events that led up to the error. The trace offers the engineers a view of what he would normally not be able to see. The trace happens in real time which help of events that may need to happen without delays of stopping or even slowing down the microprocessors.
So, you can choose a good in-circuit emulator that comes in your budget and according to the compatibility of your computer or laptop as some configuration has to be checked before buying and using emulators.
Comments
Post a Comment